 Coachigo
Getting started
How to get started with Coachigo
The first-launch screens, choosing between Coach and Solo, what you'll find on the home screen and the first things to do to get going.
The first time you open Coachigo, it asks a few quick questions so it fits the way you train: are you coaching clients or tracking your own workouts? It takes under a minute, and you don’t need an account to start.
Welcome
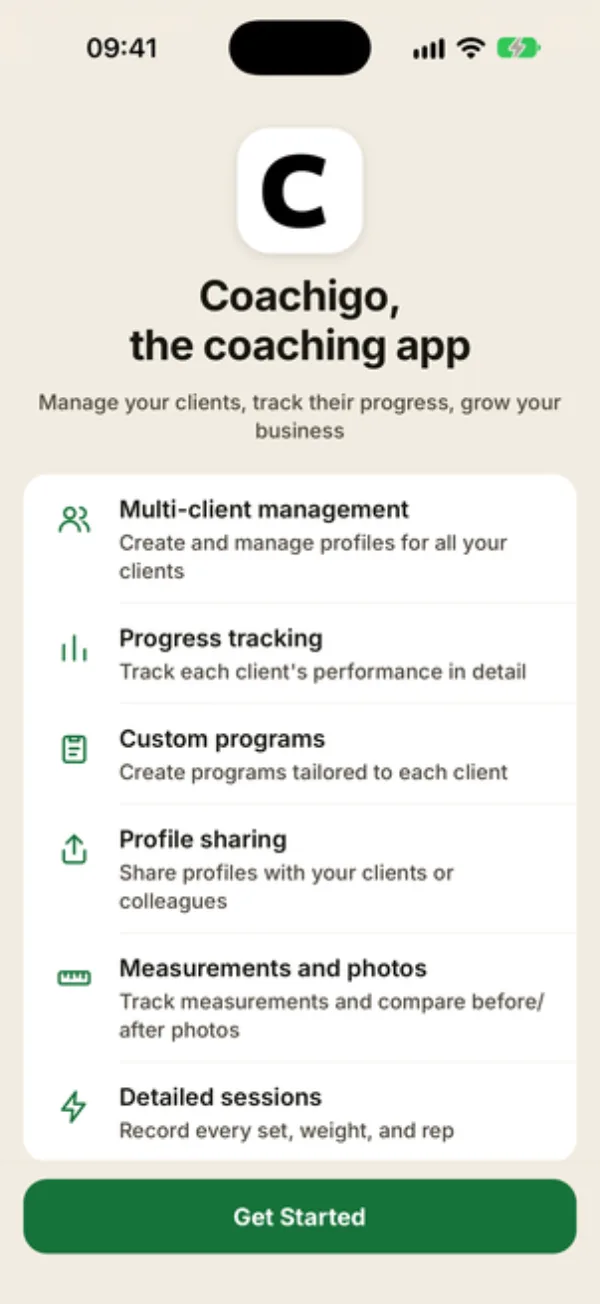
The first screen walks through what the app does. Tap Get started. On the screens that follow, a progress bar at the top shows where you are, and the arrow at the bottom takes you back a screen.
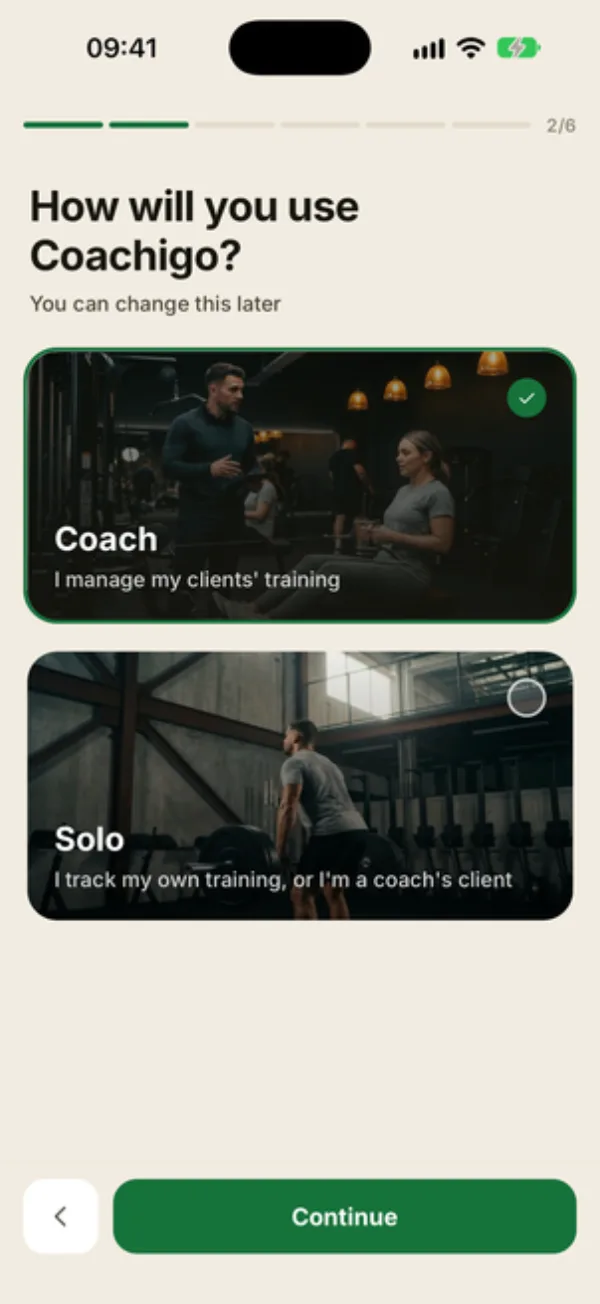
Coach or Solo
Pick how you’ll use Coachigo, then tap Continue:
- Coach: you manage your clients’ training.
- Solo: you track your own training, or you’re a coach’s client.
This isn’t set in stone. You can switch modes anytime.
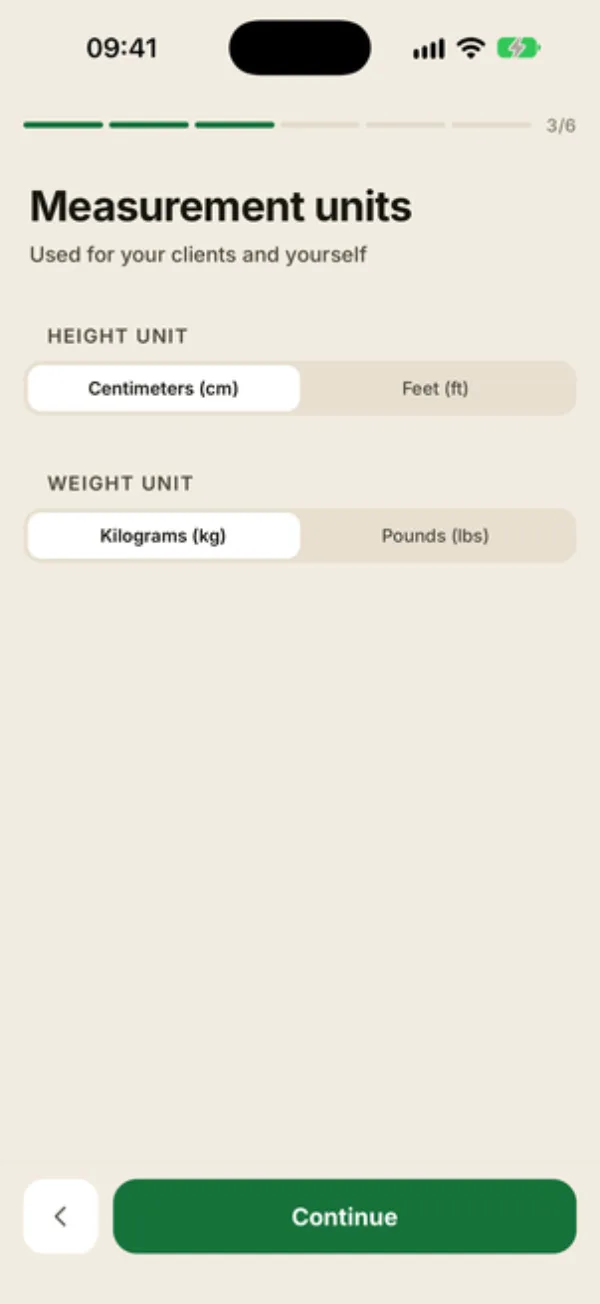
Units
Choose a Height unit (centimeters or feet) and a Weight unit (kilograms or pounds). Loads, body weight and measurements will show in these units.
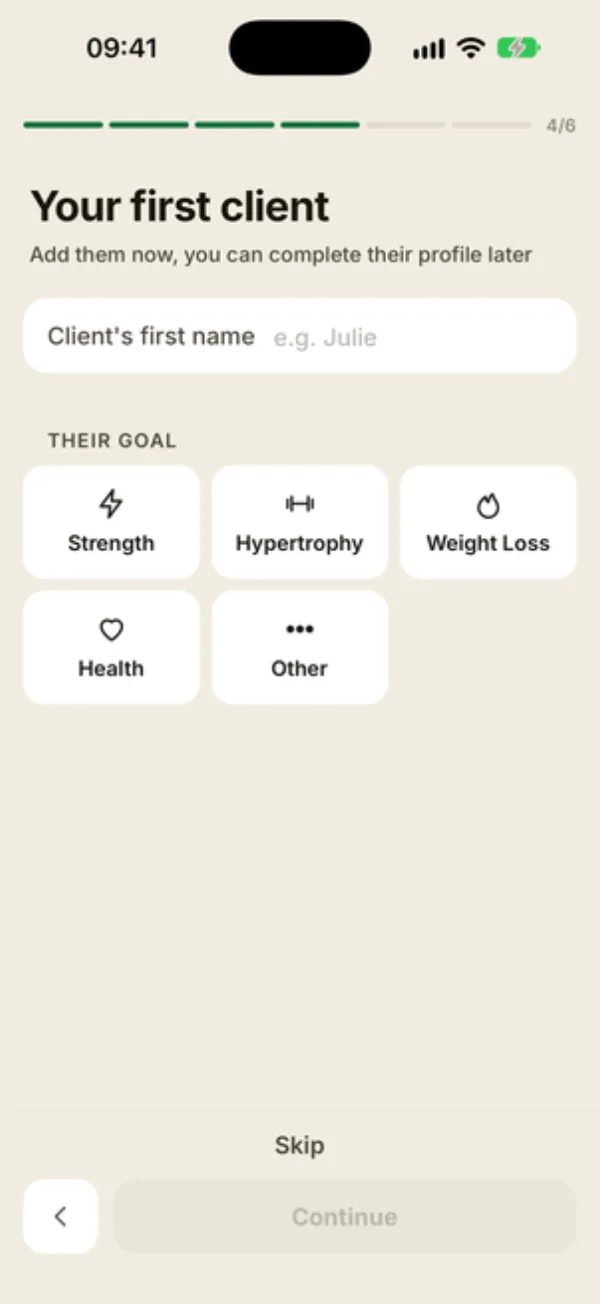
Your first client, or your own profile
In Coach mode, the Your first client screen asks for a first name and a goal. You can fill in the rest of their profile later, or tap Skip and add them afterward.
In Solo mode, you get two screens instead. Your profile asks for your first name, goal, level and how often you train: your first name creates your first profile. Your measurements lets you set your height and weight on sliding rulers. Tap Skip if you’d rather add them later.
Notifications
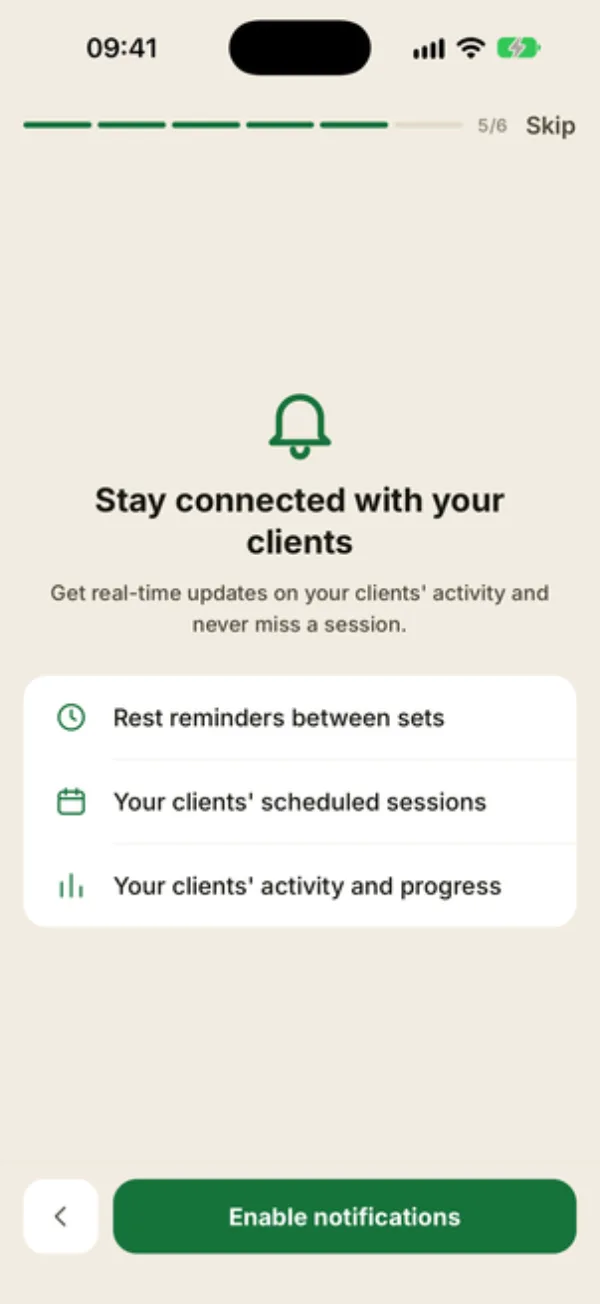
Tap Enable notifications to let Coachigo alert you when your rest between sets is up and before each scheduled session. Tap Skip at the top right to move on without them. You can allow them later from the Account tab, under Notifications.
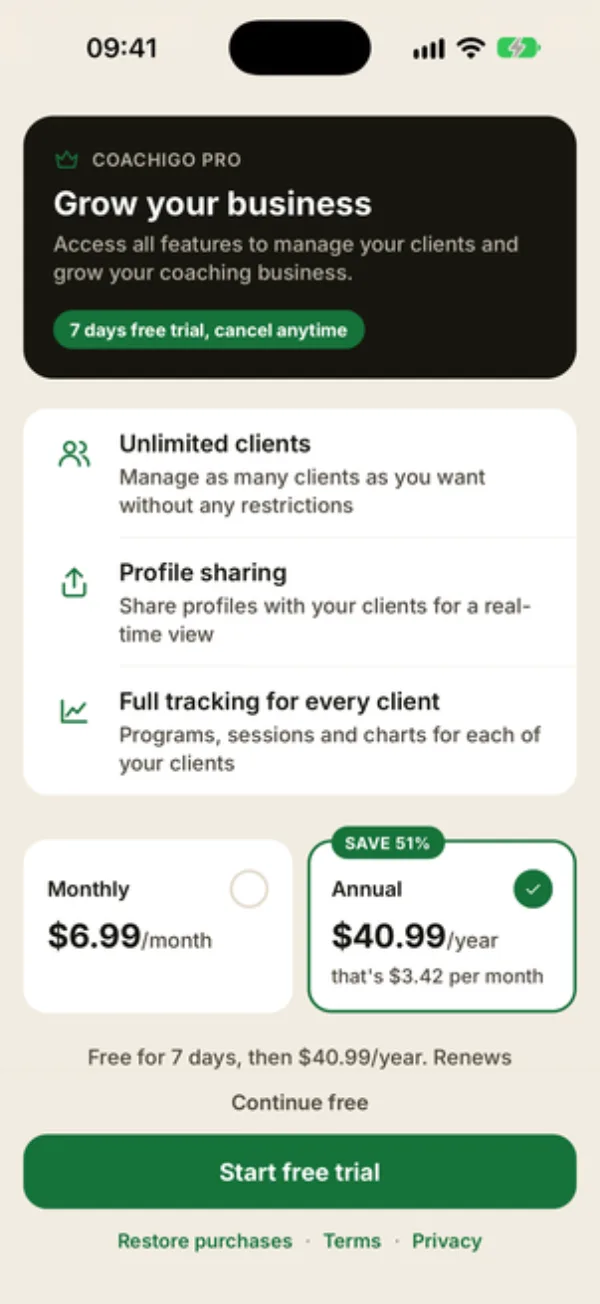
Coachigo PRO
The last screen introduces Coachigo PRO and its free trial, with prices shown for your country. Nothing here is required: tap Continue free to use the app without a subscription. See Free or PRO for what each plan includes.
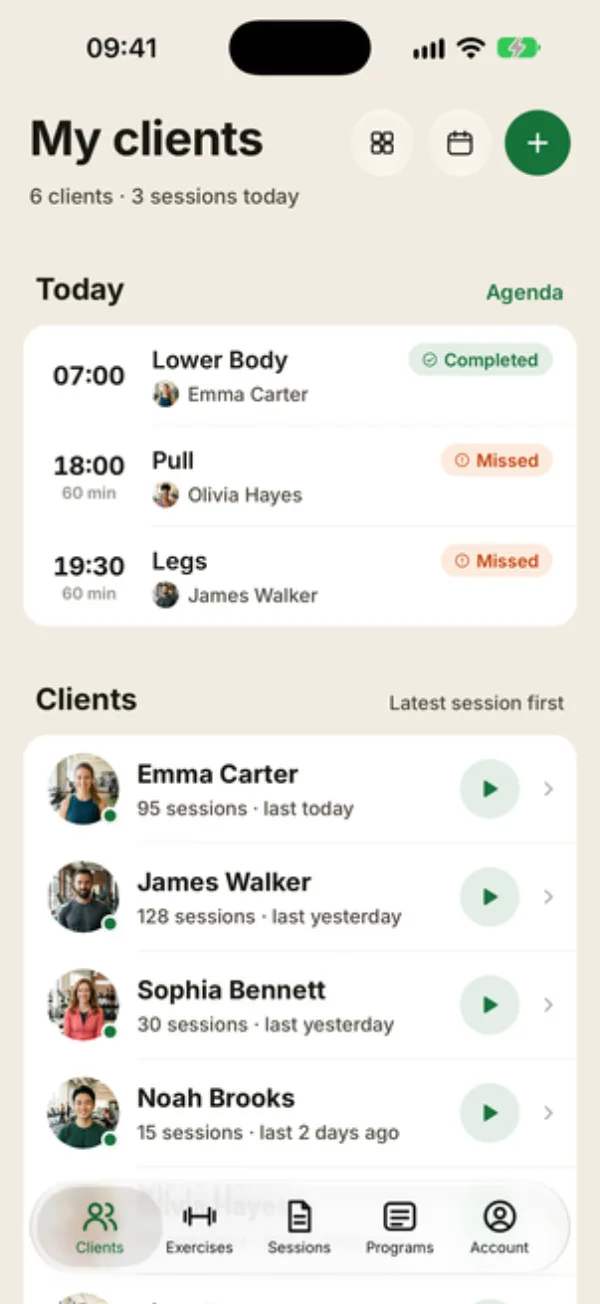
Your home screen
In Coach mode, you land on My clients: your clients, today’s sessions and, at the top, the dashboard (once you have a client), the agenda and the + button to add a client.
In Solo mode, home shows your profile with New session and Browse programs. If you skipped your first name, tap Create a profile.
Your first steps
- Add a client or finish their profile.
- Log your first workout.
- Build a program to follow week after week.
- Create an account so your data follows you to a new phone.
Set up an account early
Without an account, your data lives in this one install of the app. Create one as soon as you’ve entered your first details: it’s free and nothing gets lost.
FAQ
Can I go through these screens again?
No, they only show on first launch. You can change your units and mode later from the Account tab.
Do I need a subscription to get started?
No. Coachigo is free with one client or profile. A PRO subscription mainly lets you track more.
Do these screens show up on a computer?
No. On the web version, just sign in and your settings come with you.